How to Set up a Raspberry Pi ADS-B Flight Tracker for OSINT Investigation
This guide is accurate as of 12/13/21
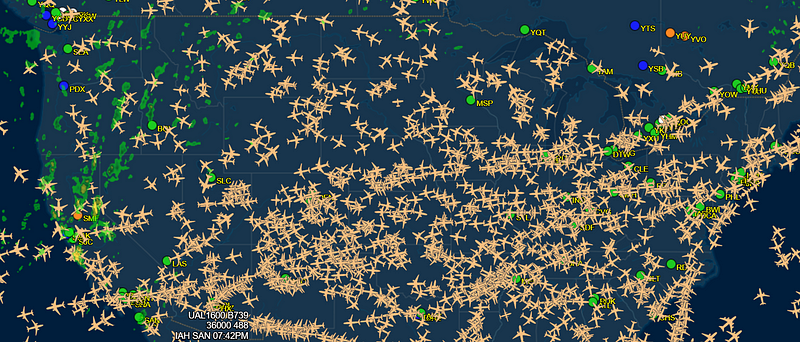
This week I finally got some time to add an ADS-B Flight Tracker to my Maritime AIS Pi to facilitate the tracking of both aircraft and sea vessels. This may seem strange to have both trackers on one Pi (bear with me I promise this won’t be all about ships) but there are actually quite a few crossovers between maritime and flight tracking.
Due to the nature of the maritime industry, vessels often employ obfuscation techniques to hide their location. When a vessel turns off its AIS or “goes dark” it can’t be seen by AIS trackers such as MarineTraffic or Vessel Finder. This lack of AIS signal poses a problem for analysts who must now rely on alternative sources to piece together the location of a ship.
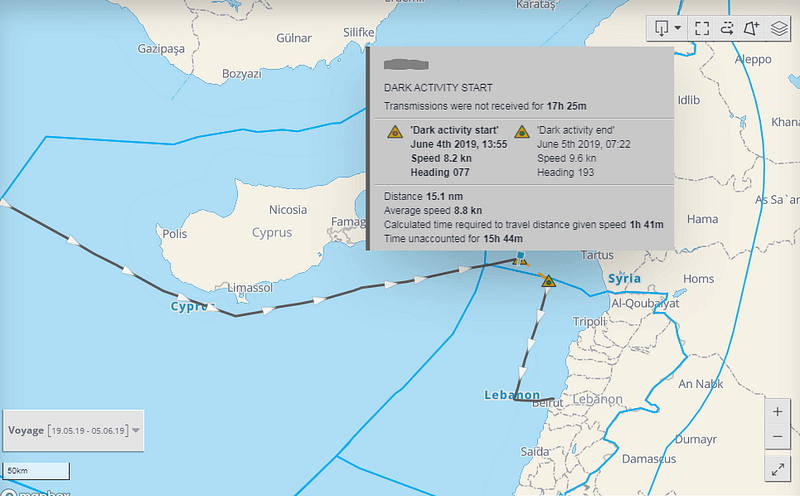
Specifically speaking, in the case of military vessels, they will perform exercises and movements without broadcasting a signal for mission security purposes. However, if the vessel is an Aircraft carrier or a warship receiving supplies via helicopter, it may be possible to track the aircraft to the dark vessel. Military aircraft do also tend to “go dark” during these missions but sometimes we may get lucky.

I realize that for me being able to hunt vessels down using aircraft is implausible because I don’t live anywhere near the ocean but I did want to learn how to build an ADS-B receiver and this seemed like a good enough reason/proof of concept.
In a previous blog, I walked through how to create an AIS Pi for Maritime Research. If you did happen to build that device, you already have most of the components needed to create an ADS-B Flight Tracker!
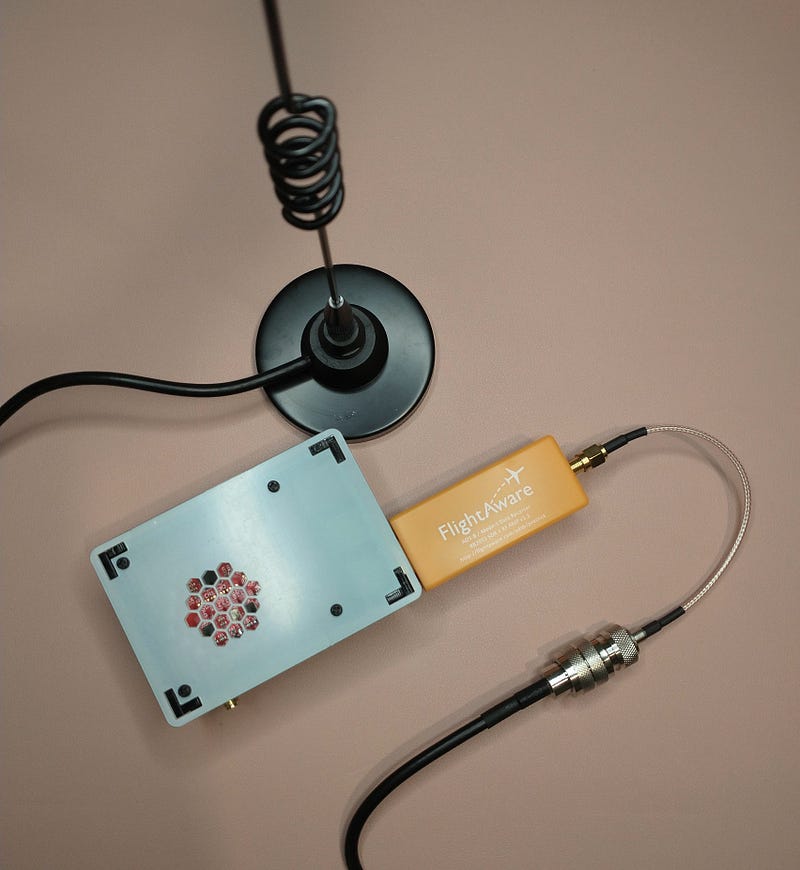
If you did not create the Maritime Pi (you should), below are the basic parts required for your Pi Flight Tracker.
Additionally, you will need a way to access the Pi such as a monitor or the ability to SSH into it. *Note that my Pi in the photos has a separately purchased case, which is not necessary to make it work.
Tools list:
Raspberry Pi $90(I used the Pi 4 Starter Kit but if you have the parts you can cut costs here)
Flight Aware ProStick $37(if you live in an area of the world with low coverage you may qualify for a free ADS-B receiver)
Marine VHF Antenna $21(161.975 MHz and 162.025 MHz)
*If you buy the antenna listed above you will also need to buy the SMA Male to SO239 RF Coaxial Coax Cable connector $11
Total Project Cost: $159
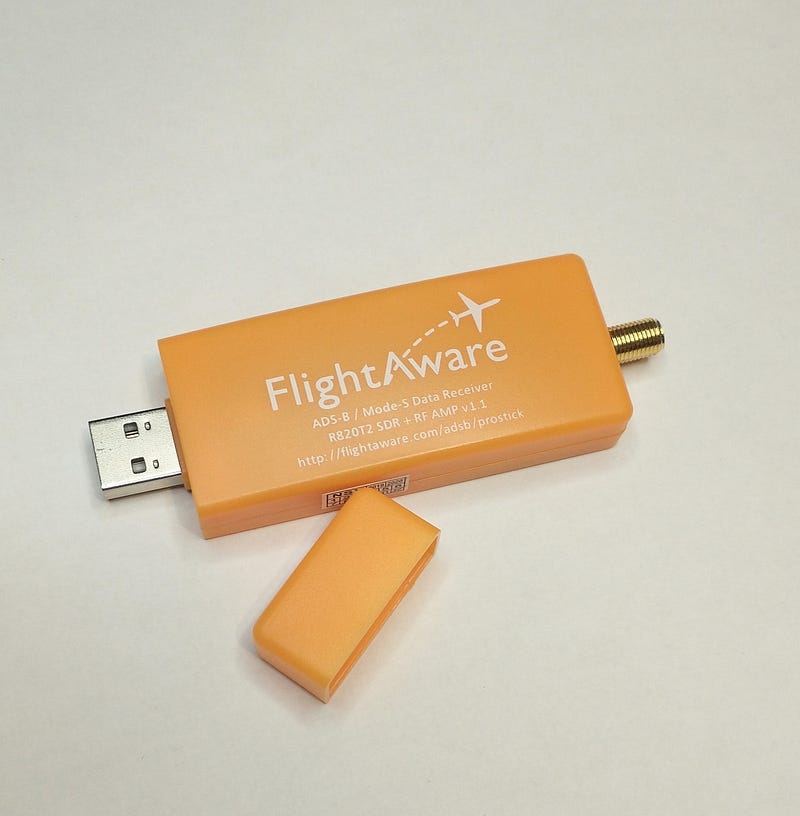
Flight Aware ProStick
The Flight Aware ProStick (yellow) is a USB dongle that connects to the Raspberry Pi on one side and an antenna on the other to create an ADS-B receiver. According to the Flight Aware site, you will be able to track aircraft up to 250NM with this receiver. The ProStick uses the Flight Aware software called “PiAware” to gather data from 1090 MHz or 978 UAT equipped aircraft. Flight Aware does offer another dongle called the ProStick Plus (blue)that has a wider range.
Flight Aware is not the only vendor for ADS-B receivers, you can also get them from places such as Flight Radar24 and Radarbox (sometimes for free!).
PiAware
PiAware is the software that runs on your Pi to transmit dump1090 ADS-B and Mode S data into Flight Aware. In order for PiAware to work, you will need to have the receiver and dump1090 installed.
Dump1090-fa
An ADS-B decoder for the RTL-SDR that runs on CLI. Basically, it decodes the transmissions from the aircraft and sends them to PiAware which then sends them on to FlightAware. This sounds complicated but it is fine, we will get through it.
Setup
There are two ways to set up your Pi for flight tracking with PiAware. The first option is that you can install PiAware via SD card and use it as an operating system and solely for flight tracking. The second option, and the option I detail below, is to install PiAware onto your Rasbian Buster. This allows you to use your Pi for Maritime tracking, Flight tracking, internetting, etc.
First, let’s hook up our Pi.
- Follow the instructions that come with your Raspberry Pi to assemble it
- Plug your Flight Aware tracker into the USB port
- Attach your antenna cord (with SMA Male attachment) to the ProStick
Next, power on your Pi
- If this is a new Pi, you will need to run through the installation of Raspbian (Unless installing PiAware as the OS)
- Once Raspbian Buster or Buster Lite is installed be sure you have an internet connection via ethernet or WIFI
- You may also want to enable SSH at this point so that you can remote in at a later time. You can do this in the settings of the GUI.
Download and Install PiAware
- Run the commands below to install the PiAware repo package
wget https://flightaware.com/adsb/piaware/files/packages/pool/piaware/p/piaware-support/piaware-repository_6.1_all.debsudo dpkg -i piaware-repository_6.1_all.deb
- Download PiAware and its dependencies
sudo apt-get update
sudo apt-get install piaware
- Enable auto and manual PiAware updates. If you want to leave them disabled, skip this.
sudo piaware-config allow-auto-updates yes
sudo piaware-config allow-manual updates yes
Download and Install dump1090-fa
- Run to install dump1090-fa which is the Flight Aware version of dump 1090
sudo apt-get install dump1090-fa
Download and Install dump978
- Run to install dump978
sudo apt-get install dump978-fa
- Restart your Pi
sudo reboot
Be irritated that nothing in Linux ever installs right
- At this point, I became very annoyed that I kept getting key errors that prevent the installation of either PiAware or dump1090. No matter how I installed this I ran into key issues. Luckily, I failed so hopefully you don’t have to! This resolved my issues when I inserted the keys that were missing from both PiAware and dump1090-fa.
- Reboot your Pi just to make sure you haven’t ruined everything
sudo reboot
Connect PiAware to Flight Aware
- When you build your own ADS-B Ground Station you get a free Enterprise account for Flight Aware. To do this you need to claim your client on the site.
- Claim your PiAware on FlightAware
- After a few minutes if your Pi is set up correctly it should start receiving data and populating the stats page
Tip: If you do not receive any data after 5–10 mins reboot
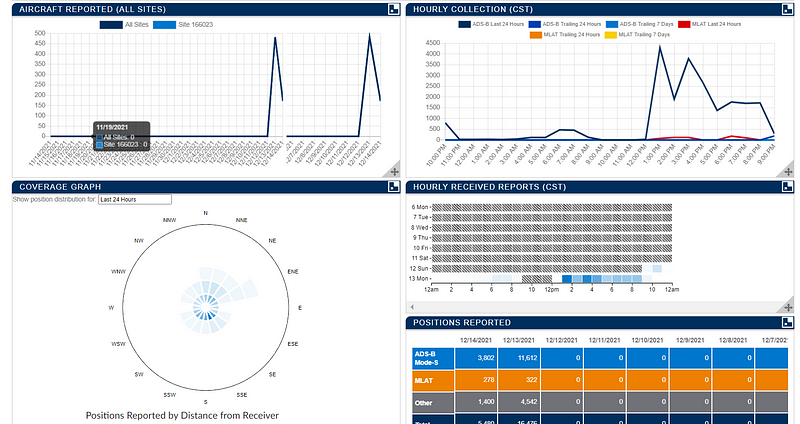
Start Tracking Flights!
Now that your ADS-B Pi is set up and pulling in data it will continue to track flights as long as the dongle is in and the Pi is on.
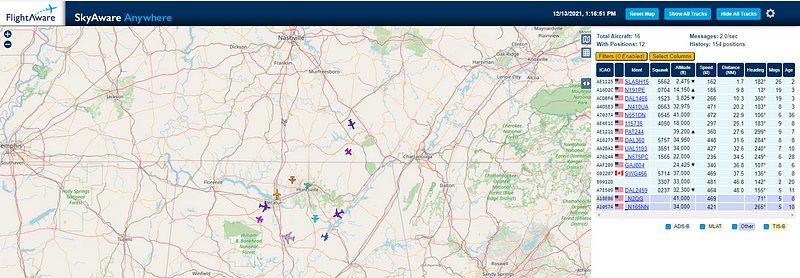
If you are new to flight tracking there are loads of great resources at your fingertips. Here are a few to get you started!
[embed]https://www.bellingcat.com/resources/how-tos/2019/10/15/a-beginners-guide-to-flight-tracking/[/embed]
https://nixintel.info/osint/using-flight-tracking-for-geolocation-quiztime-30th-october-2019/
[embed]https://www.bellingcat.com/resources/how-tos/2019/10/15/a-beginners-guide-to-flight-tracking/[/embed]